LastContact
LastContact is an app that helps you find a phone signal when you're off the beaten track.
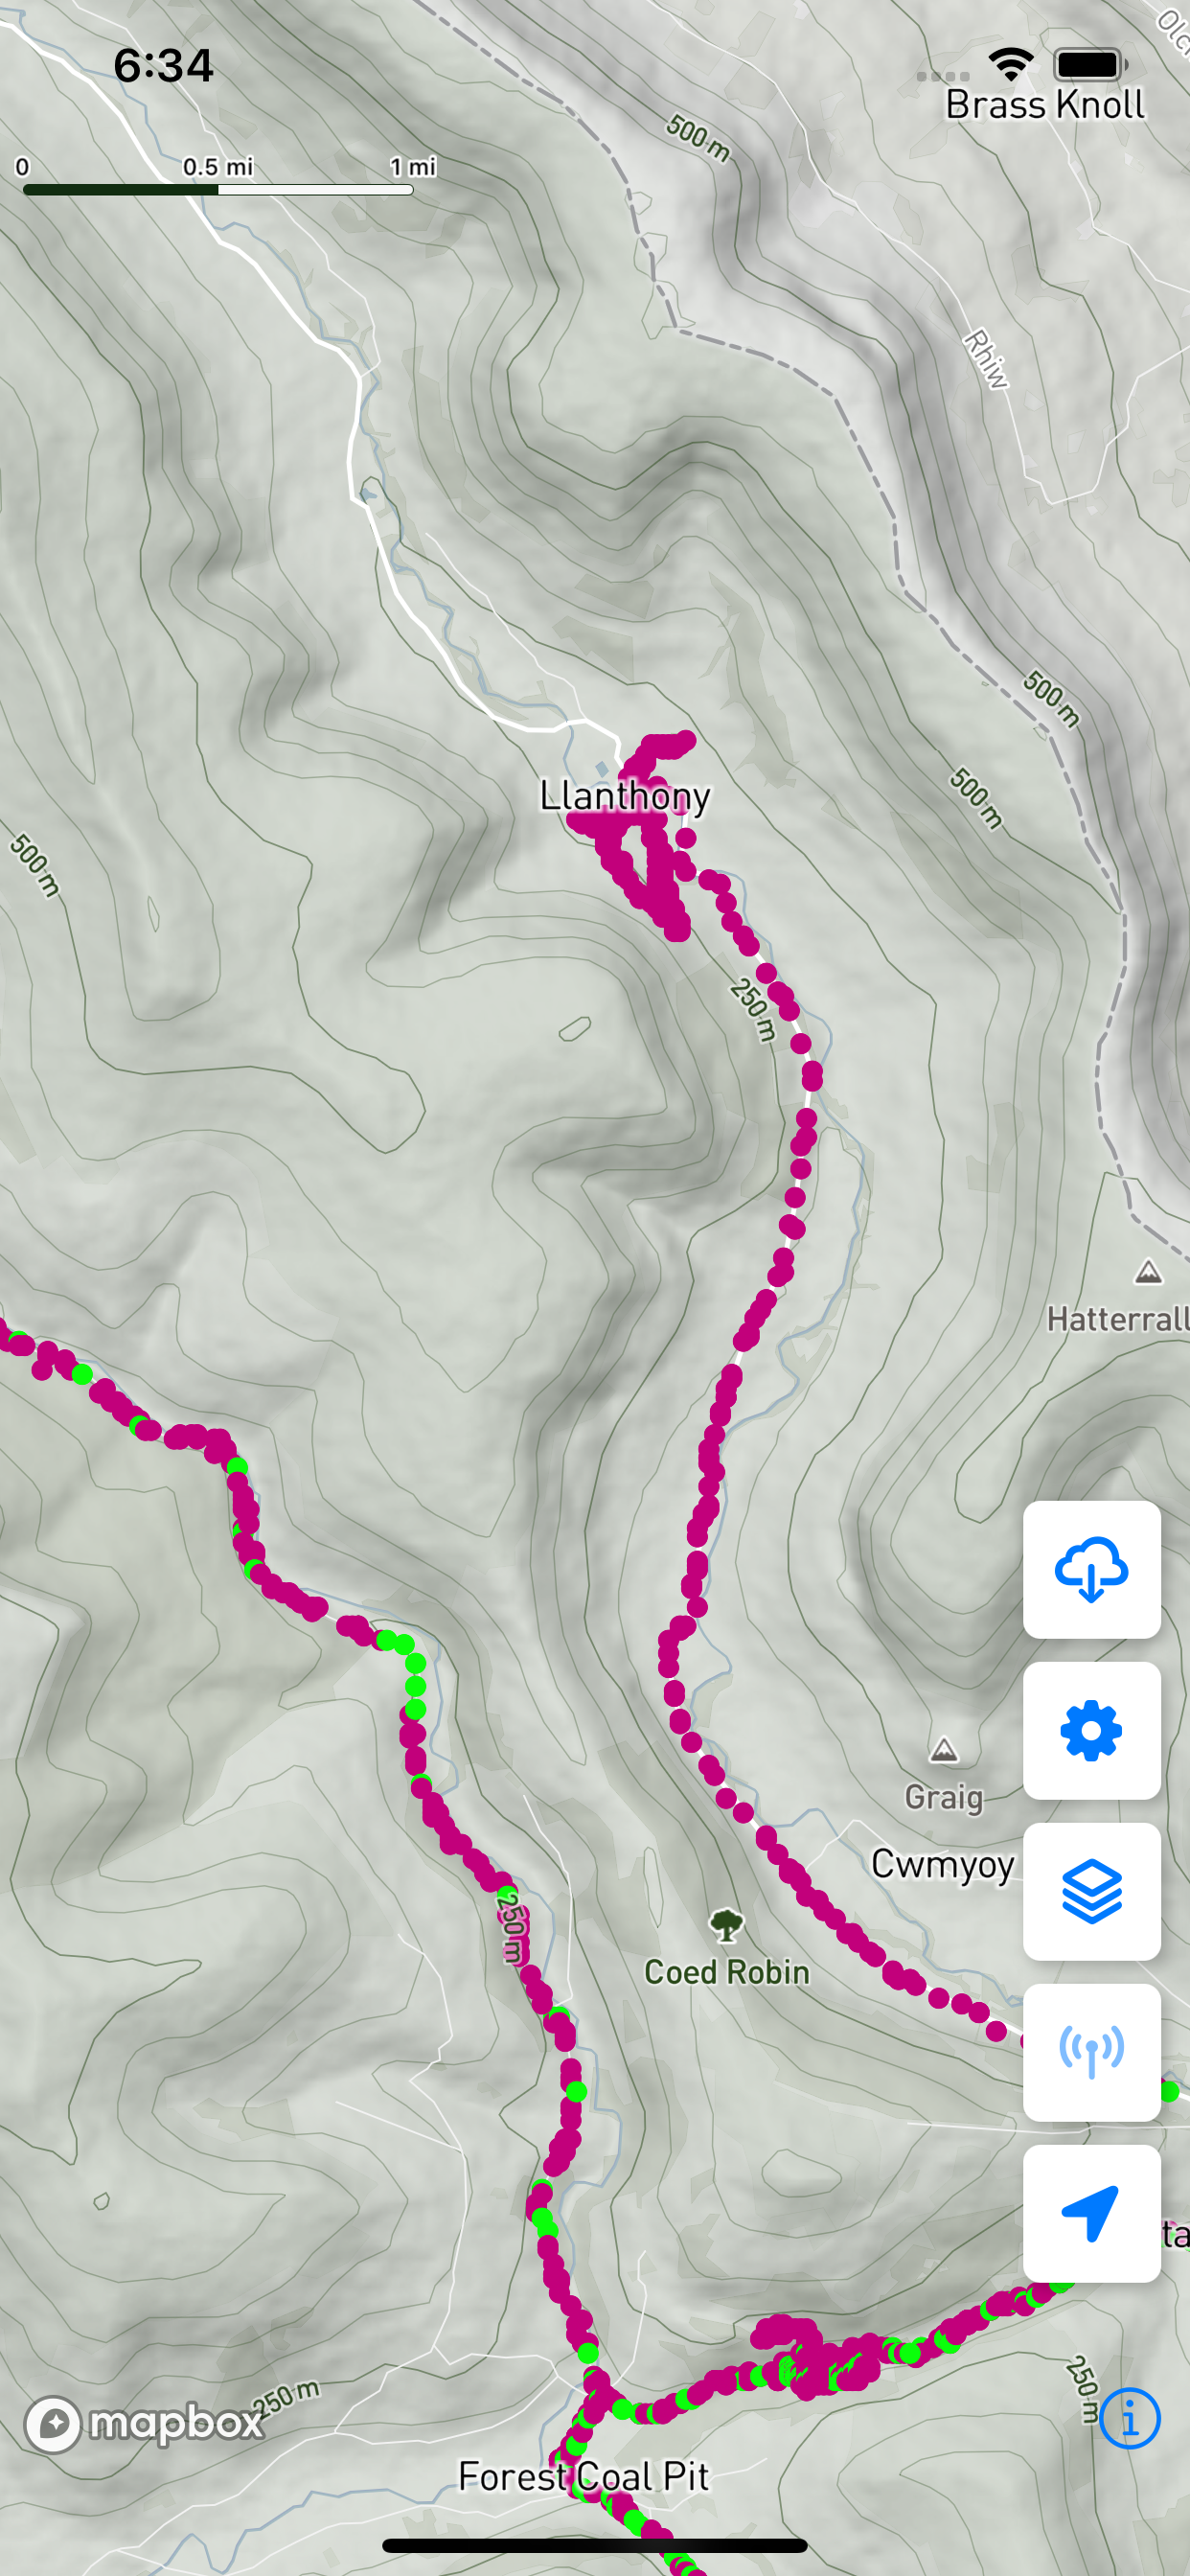
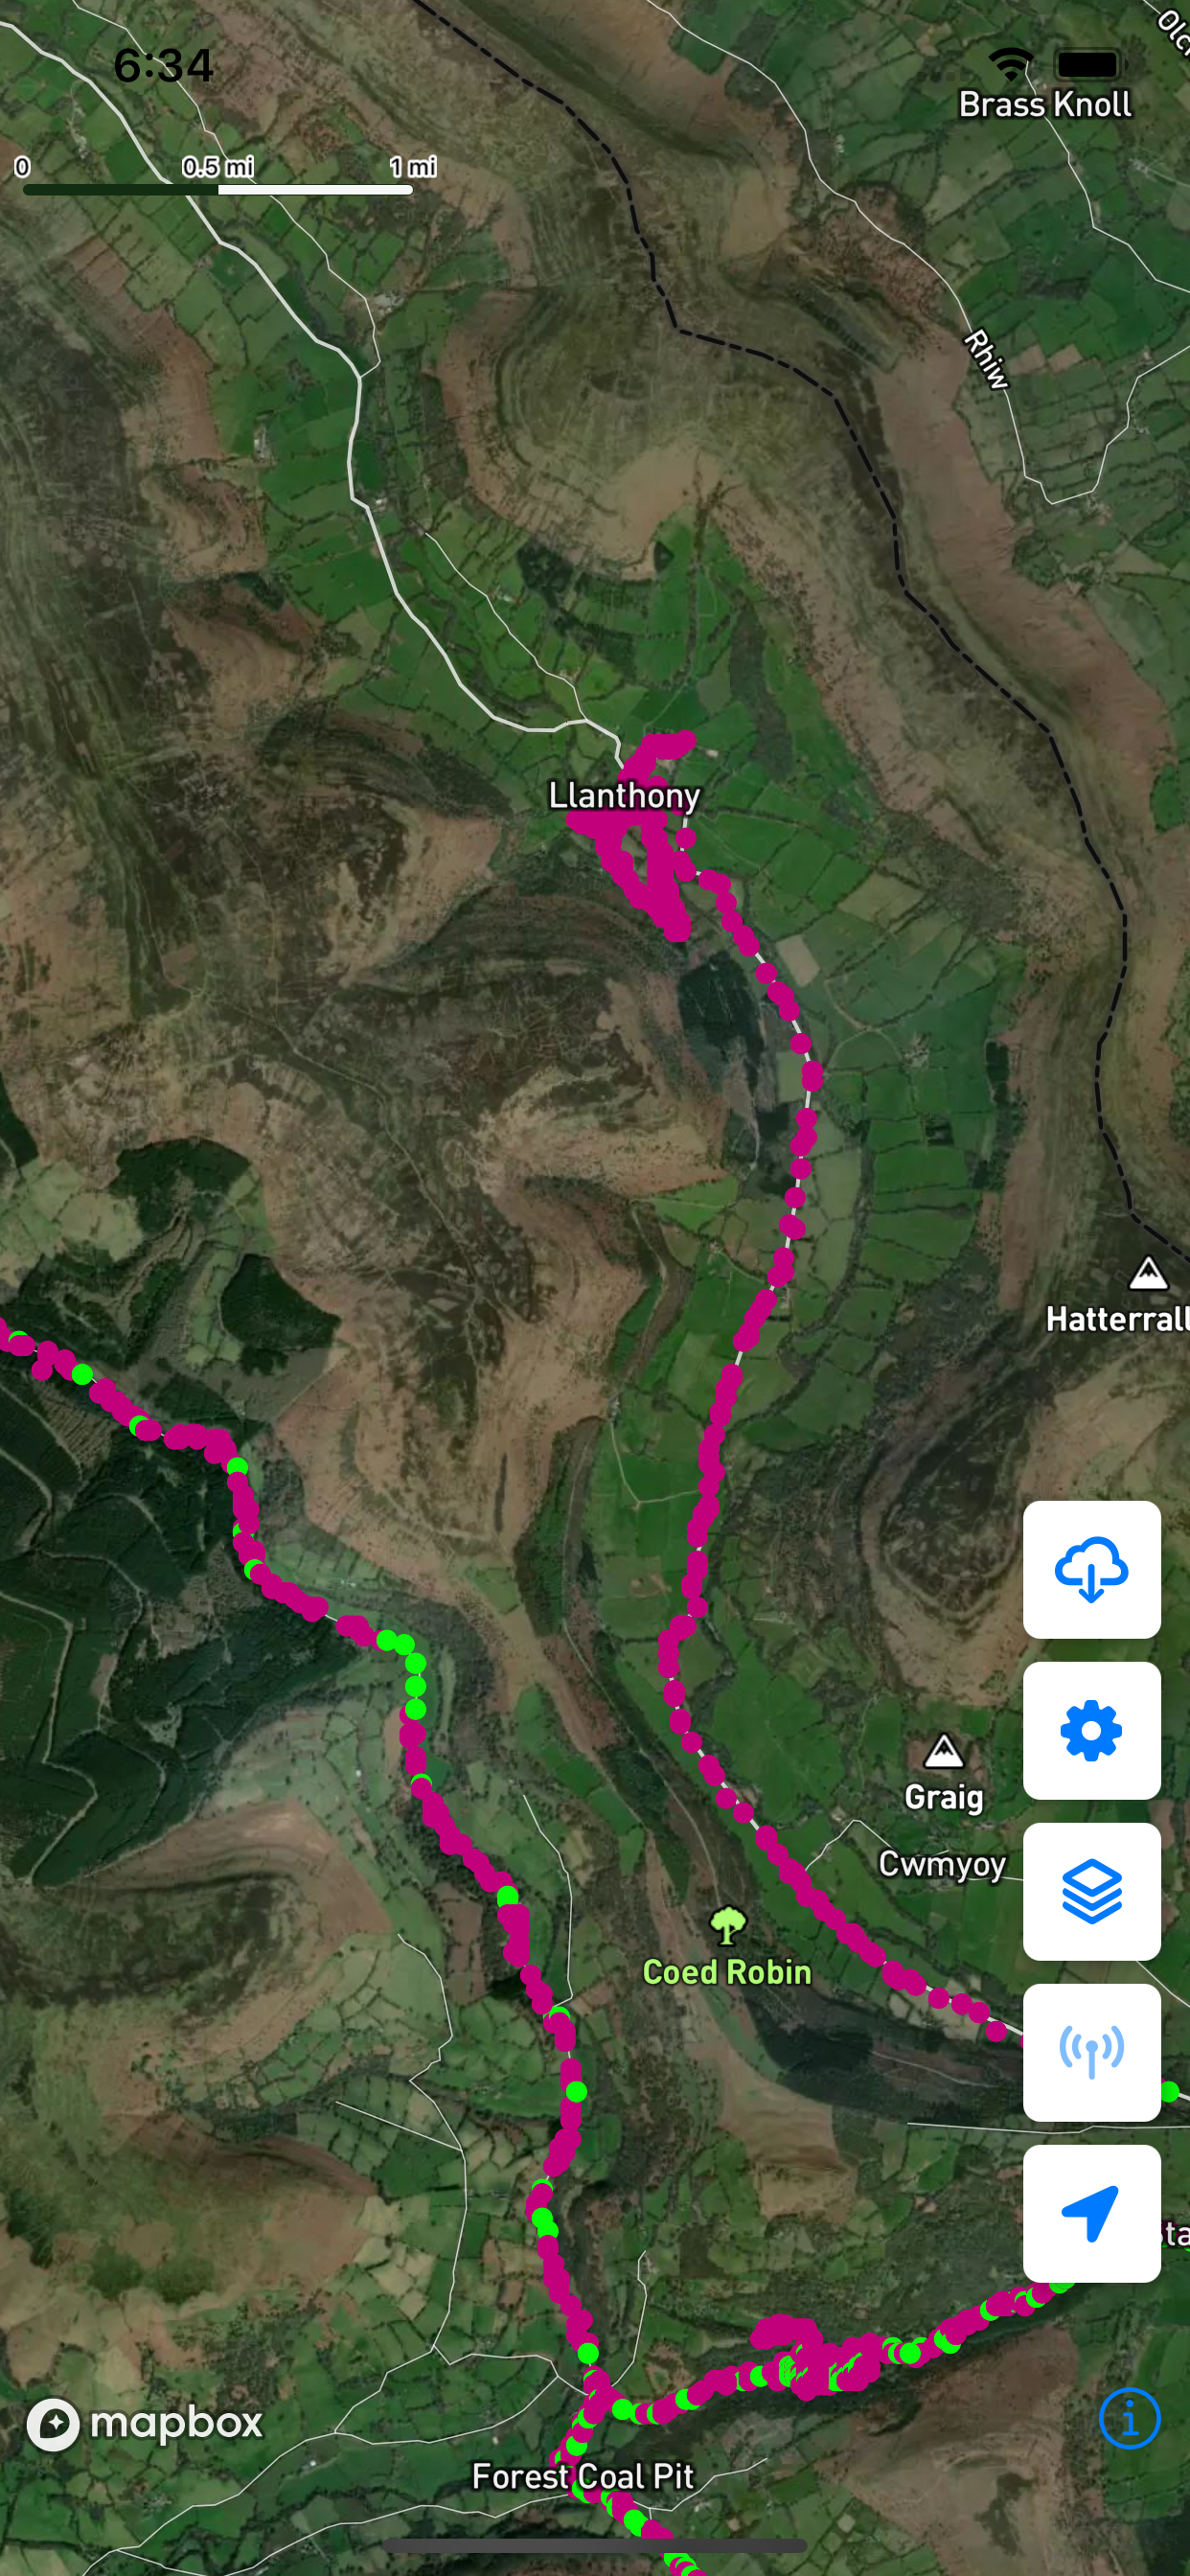
When you use the app, you are helping to build a crowd-sourced map that shows where there is a phone signal and where there isn't.
So when you're out on the moors or in the mountains and need to use your phone, whether it's to call for help or just to post a photo, LastContact will show you the best place to head for.
![]()